Tuesday, November 29, 2011

GINGERBREAD HOUSE ALBUM!


Hello Everyone!!! Have you purchased your Gingerbread House Scrapbook Kit yet? This will make a GREAT Christmas Gift! If you purchase the Deluxe Kit, it includes all of the papers and supplies! 


Accessories: Real Red Cardstock,Cocoa Bazzill, Doodlebug Design Inc. Merry and Bright Stickers Sparkle Modge Podge, Making Memories Paint Spotlight, Paper Temptress Laser Silver Lustre,  KI Memories Christmas Words, Quotes DCWV Family Sicker Stack, K& I Memories, Christmas ornaments paper

Get Yours today!!! Thank you for stopping by!!!

Sunday, November 27, 2011

Golden Elegance

Hello Everyone,
Today I am here to share a fun display piece I put together. I sure hope you like.
Let me share a few of the steps in the process of making this project.
 I started with a scalloped cake form,RRR Checkerboard Satin Old Gold Ribbon , tulle, and Tearable Tacky tape.
The tearable tape was put down first.I cut small squares of tulle to decorate the card board- I wasn't thrilled about the silver on the design-So I had to cover.
 I used this yummy RRR Checkerboard Satin Old Gold Ribbon .
I like how this looked gathered on the base.
 Wanted to share the Cake Slice Box Set #01--Two Tier
from Creative Cuts and More. I also chose to add half of Cake Slice Box Set #01 - Small, Dress & Tuxedo Box Set.
This is one of my favorite projects to make for many occasions. I used 
RRR Checkerboard Satin Old Gold Ribbon .on the layers along with the tulle.
I added some vintage buttons and gold berry sprays and tulle picks from my supplies.

post signature

Friday, November 25, 2011

Picture Frame Fold-Up

I hope you had a Happy Thanksgiving! I think I'm still full! LOL

I ordered the Picture Frame Fold-Up Card from Creative Cuts and More intending to put a picture in it, but... when I started this card, I really liked the idea of slipping a quote in! Having the extra flap of the 'frame fold-up' makes the inside totally finished! Cool!

I stamped the front with Honeycomb Background and the quote in Distress Wild Honey (so appropriate! lol). The quote and image are from Simple Things. These are both peeks....shhhh.
The Picture Frame Fold-Up is Bazzill Criss Cross Sugar Cookie, I love it with the Honeycomb! I love the textured Bazzill cardstock. Check them out here, in sooo many colors! Yum!

Here's the finished inside.
See how nice and finished it looks!
I put it on a piece of black just to make it pop!
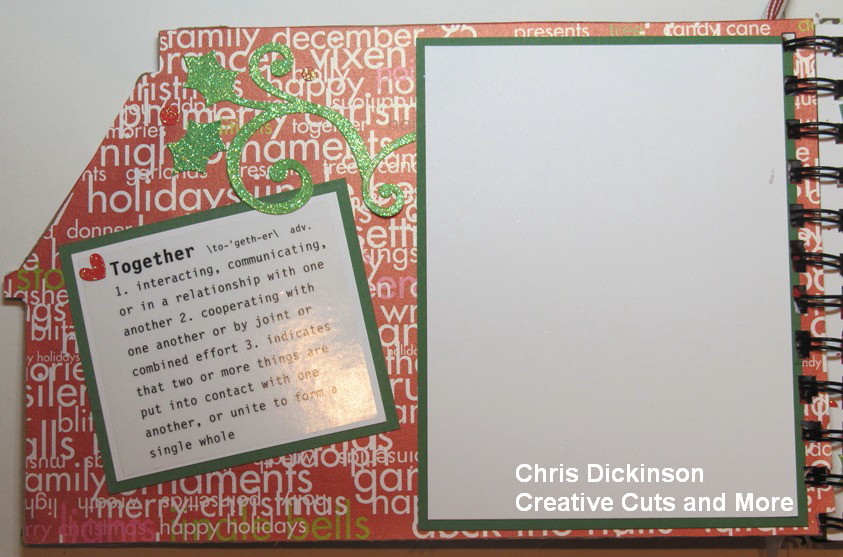
Stop by Creative Cuts and More. There are loads of die cuts just ready for you to embellish! All come pre-cut and scored, makes it sooo easy!

By the way... I have another Picture Frame Fold-Up Card, maybe that one will have a real photo!

Thanks for stopping!
Dawn Lusk

Thursday, November 24, 2011

Happy Thanksgiving!

Hi! Nora Anne here today :) I hope you are all spending the day with family today and that you all have a lot to be thankful for.
I'm sharing a quick project today that can be made in minutes. The pages were a free download from Bella Blvd. I will be passing this around the Thanksgiving table today so we can all record some memories from this Thanksgiving.


I started with 8x8 lightweight chipboard pages and cut them down a bit to fit the printout pages. Now I have extra chipboard pieces to die cut some other little embellishments for the cover. After punching holes with my Crop A Dile, I held it all together with 1" Album Rings. One of my favorite parts in putting together this album, was the ease in which I could do so using the Killer White Tear-able Tacky Tape. I am addicted to this stuff, the fact that it's tearable makes it so easy!
I will be back next week to show you the finished inside after we all share!
Have a wonderfully Happy Thanksgiving!!!!

Wednesday, November 23, 2011

Happy Day Before Thanksgiving!

There should be way more than one day to be Thankful, don't you think?
It's Noelle posting today.
The 3 things that I am most thankful for are my girls and my husband.  I'm sorry to toot our own horns, but, we make fantastic girls!  *wink*
I LOVE this Banner #04 & Layer so much!!
I have made this album before, but with the point at the bottom.  I need to make a few more pages before I decide for sure, but I think I might put the rings at the bottom this time!  I adore all of Creative Cuts and More's Shape Albums!  I get to make them different every time!
Thank you for stopping by today!
We wish you and yours a Happy Thanksgiving!

Monday, November 21, 2011

Have a TERRIFIC day!

Welcome Back!

I hope you had a terrific weekend!  I was very busy as the director of a huge Marching Band Field Tournament that was held at my son's high school this weekend.  I've run this event for the last four years and this was my final year.  We had a lovely day with no rain on Saturday and while it rained on Sunday during clean up I didn't mind at all!  

Once I got home and got dry and warm again I remembered that I needed to make a birthday card for a friend on another design team. I didn't have much time, energy, or mojo so I reached for my old favorite, Square Scallop die cut card from Creative Cuts and More.


It was so easy...just added some layers of paper and a large digital image from Paper Pretties stamps, "Pretty Present", that I colored and fussy cut before attaching a tag stamped with a sentiment from Everyday Sentiments and adhering to the card with pop dots.

I suggest you always have a few of these Square Scalloped cards on hand in a few different colors because it really makes it fast an easy to made a quick and fabulous card!

Have a great rest of your week!

Kristine

Saturday, November 19, 2011

Oh Christmas Tree

I am so excited to share with you a project I made for  Creative Cuts and More- I shared it with Laura at Paper and Pixels Magazine. Let me tell you I was blown over when she asked if she could share it in the magazine.  Each magazine goes out on the 15th of the month. 


Advent Calendar Tree Set from Creative Cuts and More


Basic Tree Directions:

1.       Fold (crease) each Tree on its fold lines. This will help your project go much smoother.

Note: At this point I decided to emboss my tree. If you choose to do this each tree will have an embossed side and de-bossed side.


2.       Place a strip of your Killer Red Tacky Tape on the top to connect the two pieces. If you wanted to stamp a design or insert pictures it should be done now.

      Note: I chose to use miniatures in each of the windows so I didn’t add anything at this point.
                
  1. You want to make sure all pieces line up and stay together. Using an aggressive two sided tape like Killer Red Tacky Tape - 1/8"  really makes sure it stays. Be careful not to glue the windows down. Once you have the tape down you can use your finger or the bone folder to burnish down the tape.
  
  1. Work carefully and make sure all the backing pieces are attached to the tree fronts.
  2. Next you will need to add tape to the back of the insert sheets; you don’t have to worry about the windows being covered on the backing pieces.
                  
  1. Work carefully and remove strip from tape from only one side at a time.
                            
  1. You will be joining half of one side of the tree (Backing side) to the next one half of the next tree. Continue to do this with all four tree pieces.
 
  1. There is also a present designed tree stand in the kit to use for the base.
     Note: I used miniature buttons, iron on patches, mini ornaments to adorn my windows.